Claim workflow
Xactimate One keeps claim workflows simple and efficient. This overview shows the steps involved from the creation of a claim to the close of the claim.
Create a claim
The first step in the claim life cycle is claim creation. You can do this from the Claims page.
- Click Claims in the left-hand navigation.
- Click the add icon
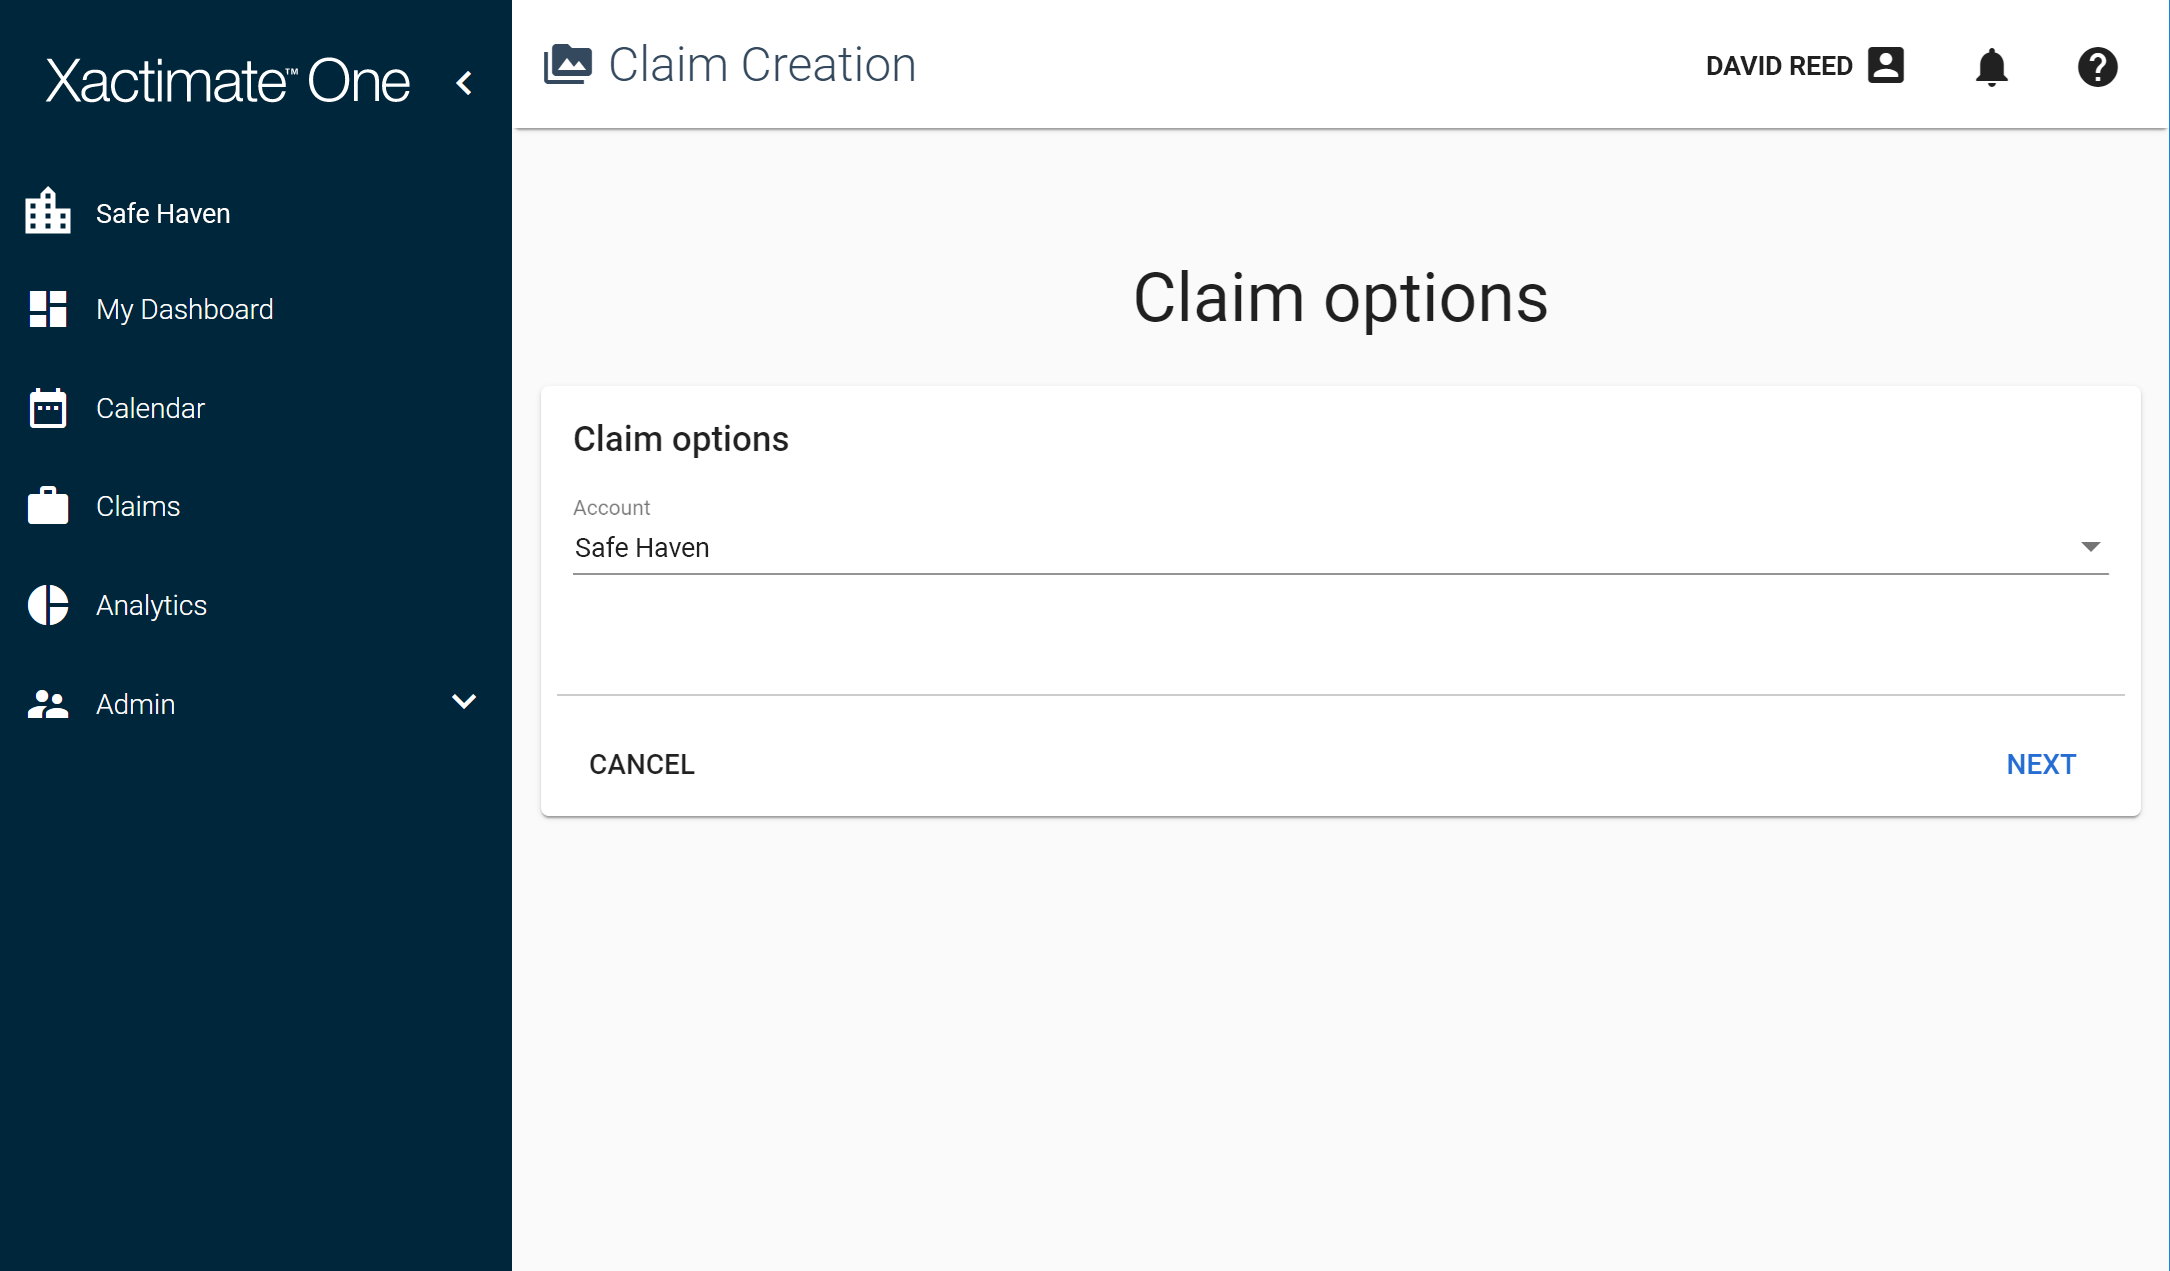
 . The Claim Options page opens.

- If you have multiple claim templates, select one from the Account menu.
- Click Next.
- Enter the policy information in the provided form. The required fields are marked with an asterisk.
- Click Next in the top-right corner.
- Enter the claim information in the provided form.
- Click Create in the top-right corner. The claim opens automatically.
Assign a role
Once a claim is created, you can assign a vendor or specific users to the claim from the Roles tab.
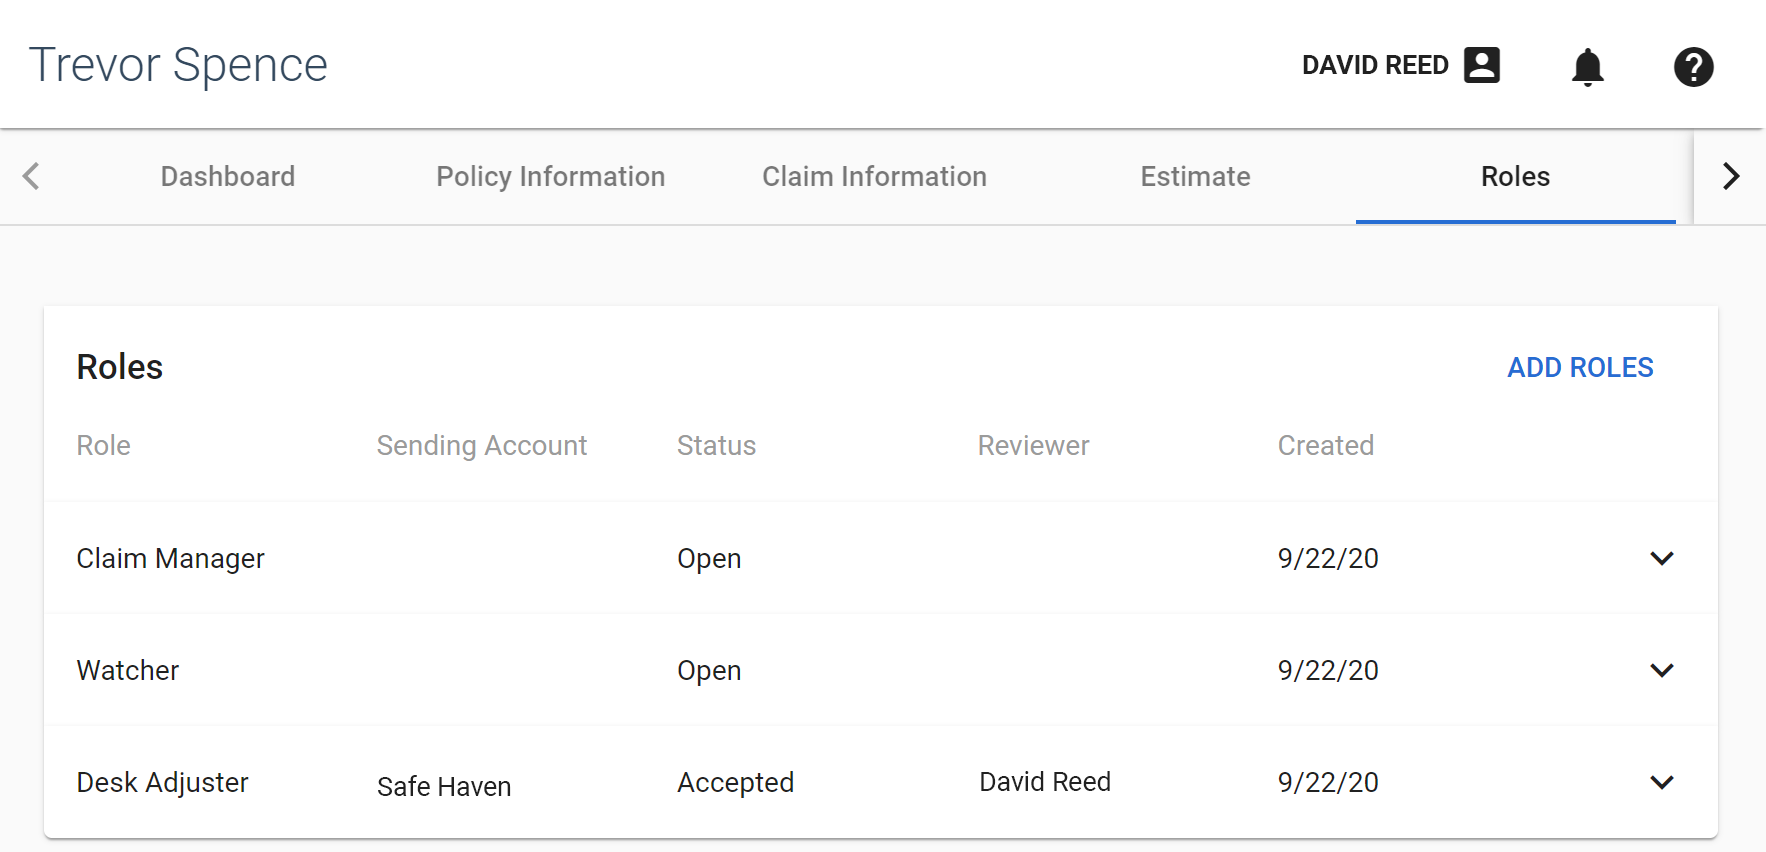
- Open a claim and click the Roles tab.
- Click Add Roles at the top of the Roles list.

- Select either the Staff radio button to create a role for an internal staff user, or the Vendor radio button to create a role for a company, contractor, or independent adjuster.
- Type the participant's name in the User or Vendor field and select their name when it appears in the results. You can repeat this to add multiple participants to the role.
- Select the role that you want the participants to fulfill from the Role menu.Administrators can create new roles and add them to this menu from the Roles tab in Project Settings. For more information, see Create a new user role.
- In the Choose Review Option section, select whether or not a review is required for this role.
- Click Send.
An invitation to perform this claim role appears in the participant's My Dashboard page. They can either accept or reject the invitation.
Complete the role
After a participant completes all tasks associated with a role, either you or the participant can mark the role as completed.
- Open a claim.
- Click the Roles tab.
- Click the role in the list to expand its information box.
- Click Complete Role.
Close the claim
Once you feel a claim and all its roles are complete, you can close it from the claim's Dashboard tab.
- Open a claim.
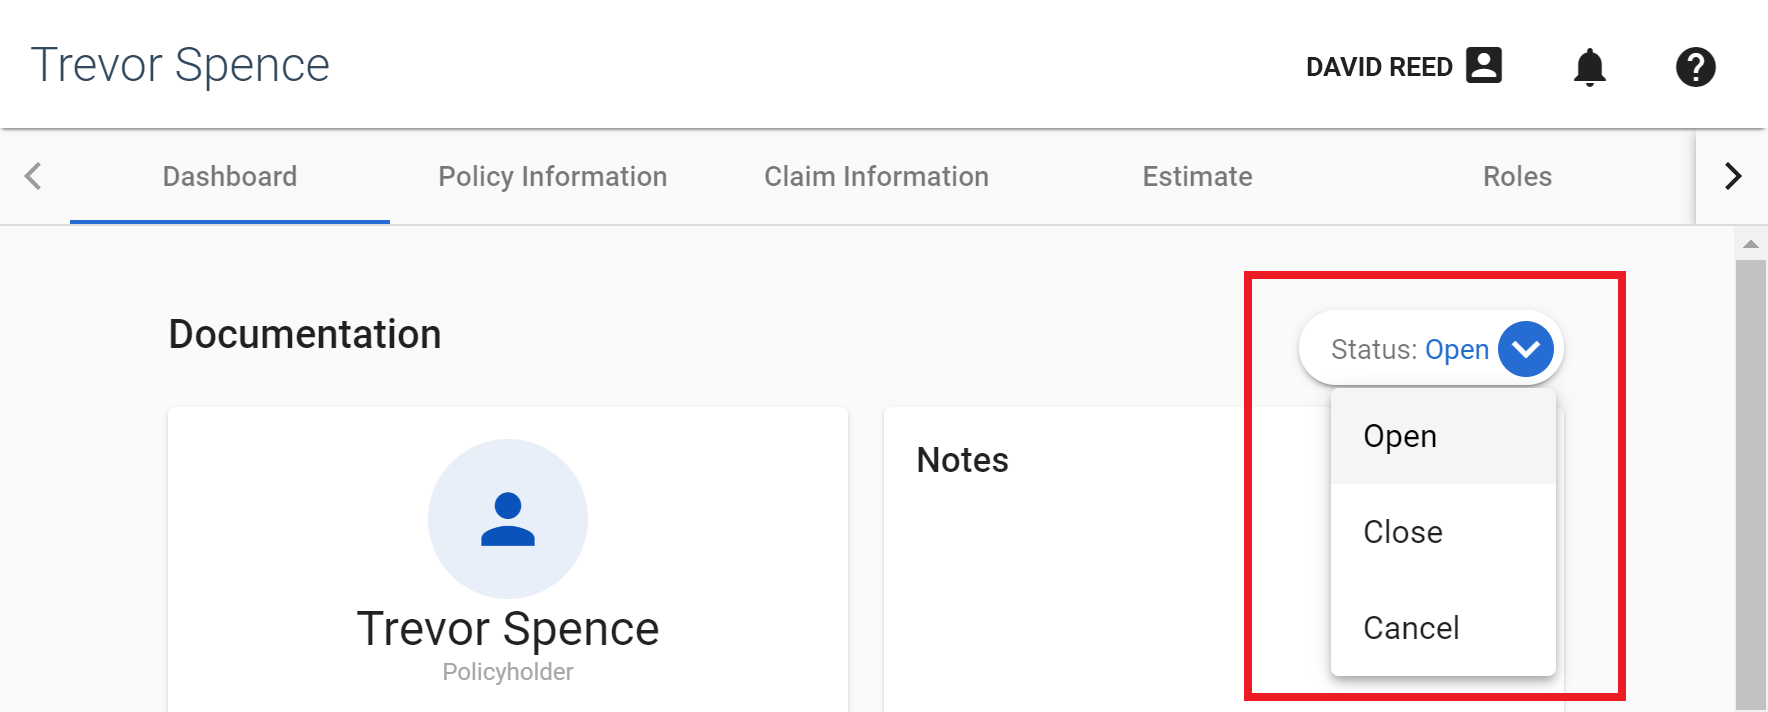
- Click the Dashboard tab.
- Click the Status menu.

- Select Close. A confirmation window appears.
- Select a reason from the Closed Reason menu.
- Click Close.