Add an estimate to a claim
After you create a claim, you can add multiple estimates to it from the Estimates tab. Each estimate is composed of two parts: scope of work and pricing. The scope of work includes factors such as room dimensions, line item information, images, and drawings. Once the scope of work information is entered, you can apply pricing factors such as price lists, custom prices, and depreciation. The system then calculates all these factors and provides the estimate total.
Create an estimate
- Open a claim.
- Click the Estimates tab.
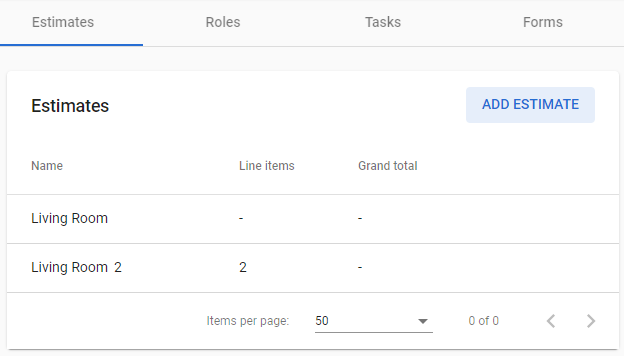
- Click ADD ESTIMATE.
- Type a name for the estimate in the dialog box that appears.
- Click ADD.
Add scope of work
- Click an estimate's name from the list.
- Click the Scope of Work tab.
- Click the add button
 .
. - Select either Line item, Room, Folder, or Drawing from the menu that appears. Descriptions and instructions for each are listed below:
Line item
This option allows you to add a line item and its information to the estimate. Use the search bar in the dialog box that appears to find and select a common line item. You can also click Add custom item at the bottom of the dialog box to add a custom line item. You are also prompted to input information regarding the quantity of the line item, the unit of measurement, your activity with the line item, the age and condition of the line item being removed or replaced, and the policy coverage for the line item.
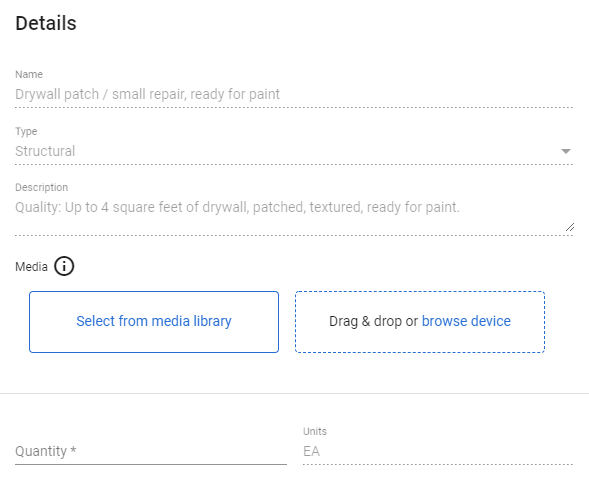
You can also click the Select from media library box to attach existing images or videos from the claim, or use the Drag & drop or browse device box to attach images or videos from your device. If you are on a mobile device, you also have the option to take a photo with your device and attach it to the claim.
After you enter all of the information, click ADD.
Room
Type a name for the room and input the measurements for its length, width, and height.
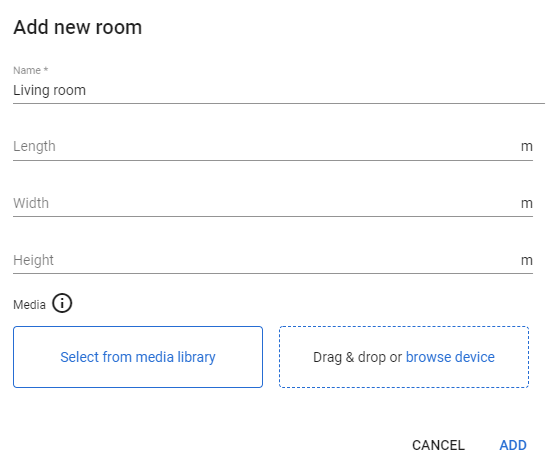
You can also click the Select from media library box to attach existing images or videos from the claim, or use the Drag & drop or browse device box to attach images or videos from your device. If you are on a mobile device, you also have the option to take a photo with your device and attach it to the claim.
After you enter all of the information, click ADD.
Folder
Folders are used as an organizational tool in an estimate. After you create and name a folder, you can add line items, rooms, drawings, or sub folders within them.
Drawing
Type a name and description for the drawing and click SAVE. On the drawing board, you can use the tools at the bottom of the page to create helpful reference drawings for the estimate. Drawings automatically save as you add to them.
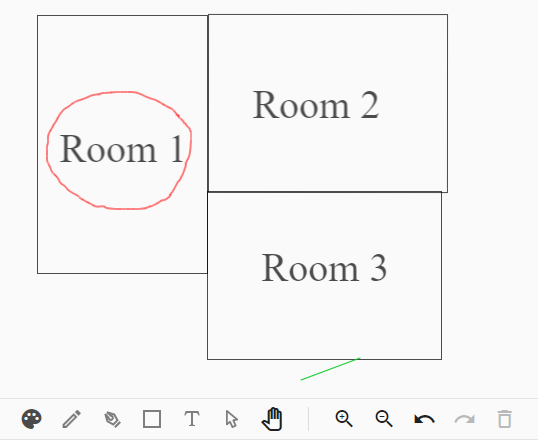
Drawing tools (listed from left to right)
Color tool - Select a color to draw with.
Freehand tool - Draw freely on the drawing board.
Line tool - Draw straight lines by clicking the start and end points of the line.
Rectangle tool - Draw rectangles by clicking and dragging over an area of the drawing board.
Text tool - Add text to the drawing by clicking and dragging over an area and then typing in the area.
Selection tool - Select parts of the drawing. When an item is selected, you can move, edit, delete, or rotate it.
Move tool - Drag and drop the entire drawing to any place on the drawing board.
Zoom in tool - Increase the size of the drawing on the drawing board.
Zoom out tool - Decrease the size of the drawing on the drawing board.
Step backwards tool - Undo the last thing you drew.
Step forwards tool - Add an item back after undoing it.
Delete tool - Delete selected items.
Add pricing
- Click an estimate's name from the list.
- Click the Pricing tab. A dialog box appears.
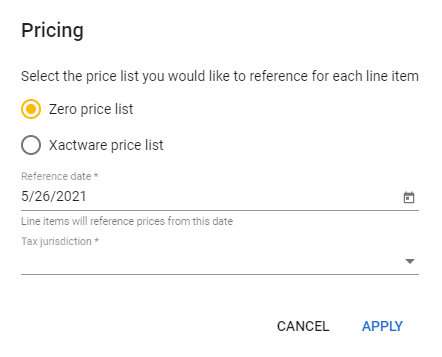
- Select the price list and tax jurisdiction options for your estimate:
Zero price list - Select this option to manually add your own custom prices.
Xactware price list - Select this option to apply an up-to-date price list provided by Xactware.
Reference date - Select a date for the price list to reference. The price list reflects prices in the area from the selected date.
Tax jurisdiction - Select the tax jurisdiction for the estimate.
- Click APPLY.
All of the line items included in the estimate are listed with the their total price. The grand total for all line items appears at the bottom. You can click the arrow next to it to expand or collapse a breakdown of its calculation.
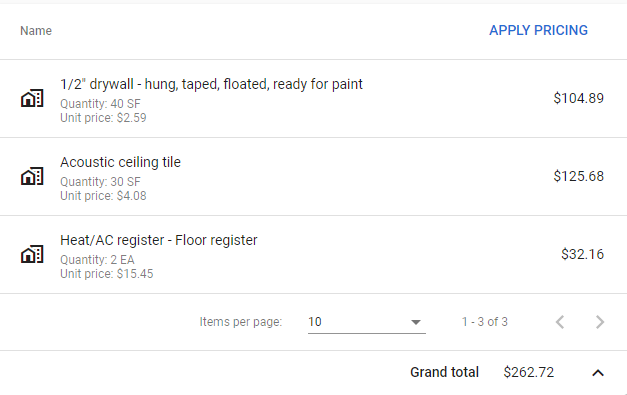
Modify line item unit price or depreciation
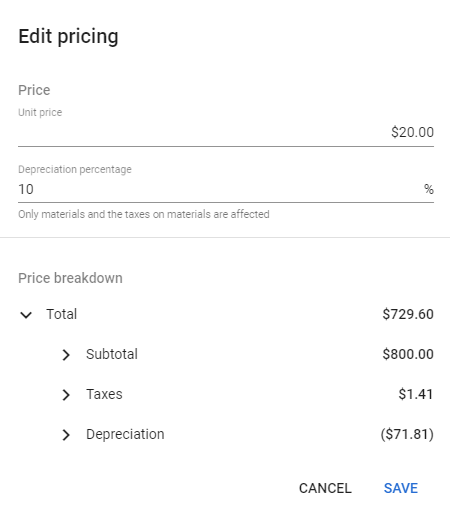
You can click line items in the list to edit their unit price and apply depreciation. The new total for the line item appears at the bottom of the dialog box. Click the arrow next to it to see a breakdown of how your changes affect the price. Click SAVE when you're done.
